Embedded databases – what is an embedded database? and how to choose one
What is an Embedded Database?
What is a database?
While – strictly speaking – “database” refers to a (systematic) collection of data, “Database Management System” (or DBMS) refers to the piece of software for storing and managing that data. However, often the term “database” is also used loosely to refer to a DBMS, and you will find most DBMS only use the term database in their name and communication.
What does embedded mean in the realm of databases?
The term “embedded” can be used with two different meanings in the database context. A lot of confusion arises from these terms being used interchangeably. So, let’s first bring clarity into the terminology.
💡 The term “embedded” in databases
“Embedded database”, meaning a database that is deeply integrated, built into the software instead of coming as a standalone app. The embedded database sits on the application layer and needs no extra server. Also referred to as an “embeddable database”, “embedded database management system” or “embedded DBMS (Database Management System)”.
“Database for embedded systems” is a database specifically designed to be used in embedded systems. Embedded systems consist of a hardware / software stack that is deeply integrated, e.g. microcontrollers or mobile devices. A database for such systems must be small and optimized to run on highly restricted hardware (small footprint, efficiency). This can be also called an “embedded system database”. For clarity, we will only use the first term in this article.
Embedded Database vs Embedded System
What is an embedded system / embedded device?
Embedded systems / embedded devices are everywhere nowadays. They are used in most industries, ranging from manufacturing and automotive, to healthcare and consumer electronics. Essentially, an embedded system is a small piece of hardware that has software integrated in it. These are typically highly restricted (CPU, power, memory, …) and connected (Wi-Fi, Bluetooth, ZigBee, …) devices. Embedded Systems very often form a part of a larger system. Each individual embedded system serves a small number of specific functions within the larger system. As a result, embedded systems often form a complex decentralized system.
Examples of embedded systems: smartphones, controlling units, micro-controllers, cameras, smart watches, home appliances, ATMs, robots, sensors, medical devices, and many more.
Embedded Database vs Database for Embedded Systems
When and why is there a need for a database for embedded devices?
A large number of embedded systems has limited computational power, so the efficiency and footprint of the DBMS is vital. This fact gave rise to the new market of databases specifically made for embedded systems. Because of being lightweight and highly-performant, embedded databases might work well in embedded systems. However, not all embedded databases are suitable for embedded devices. Features like fast and efficient local data storage and efficient synchronisation with the backend play a huge role in determining which databases work best in embedded systems.
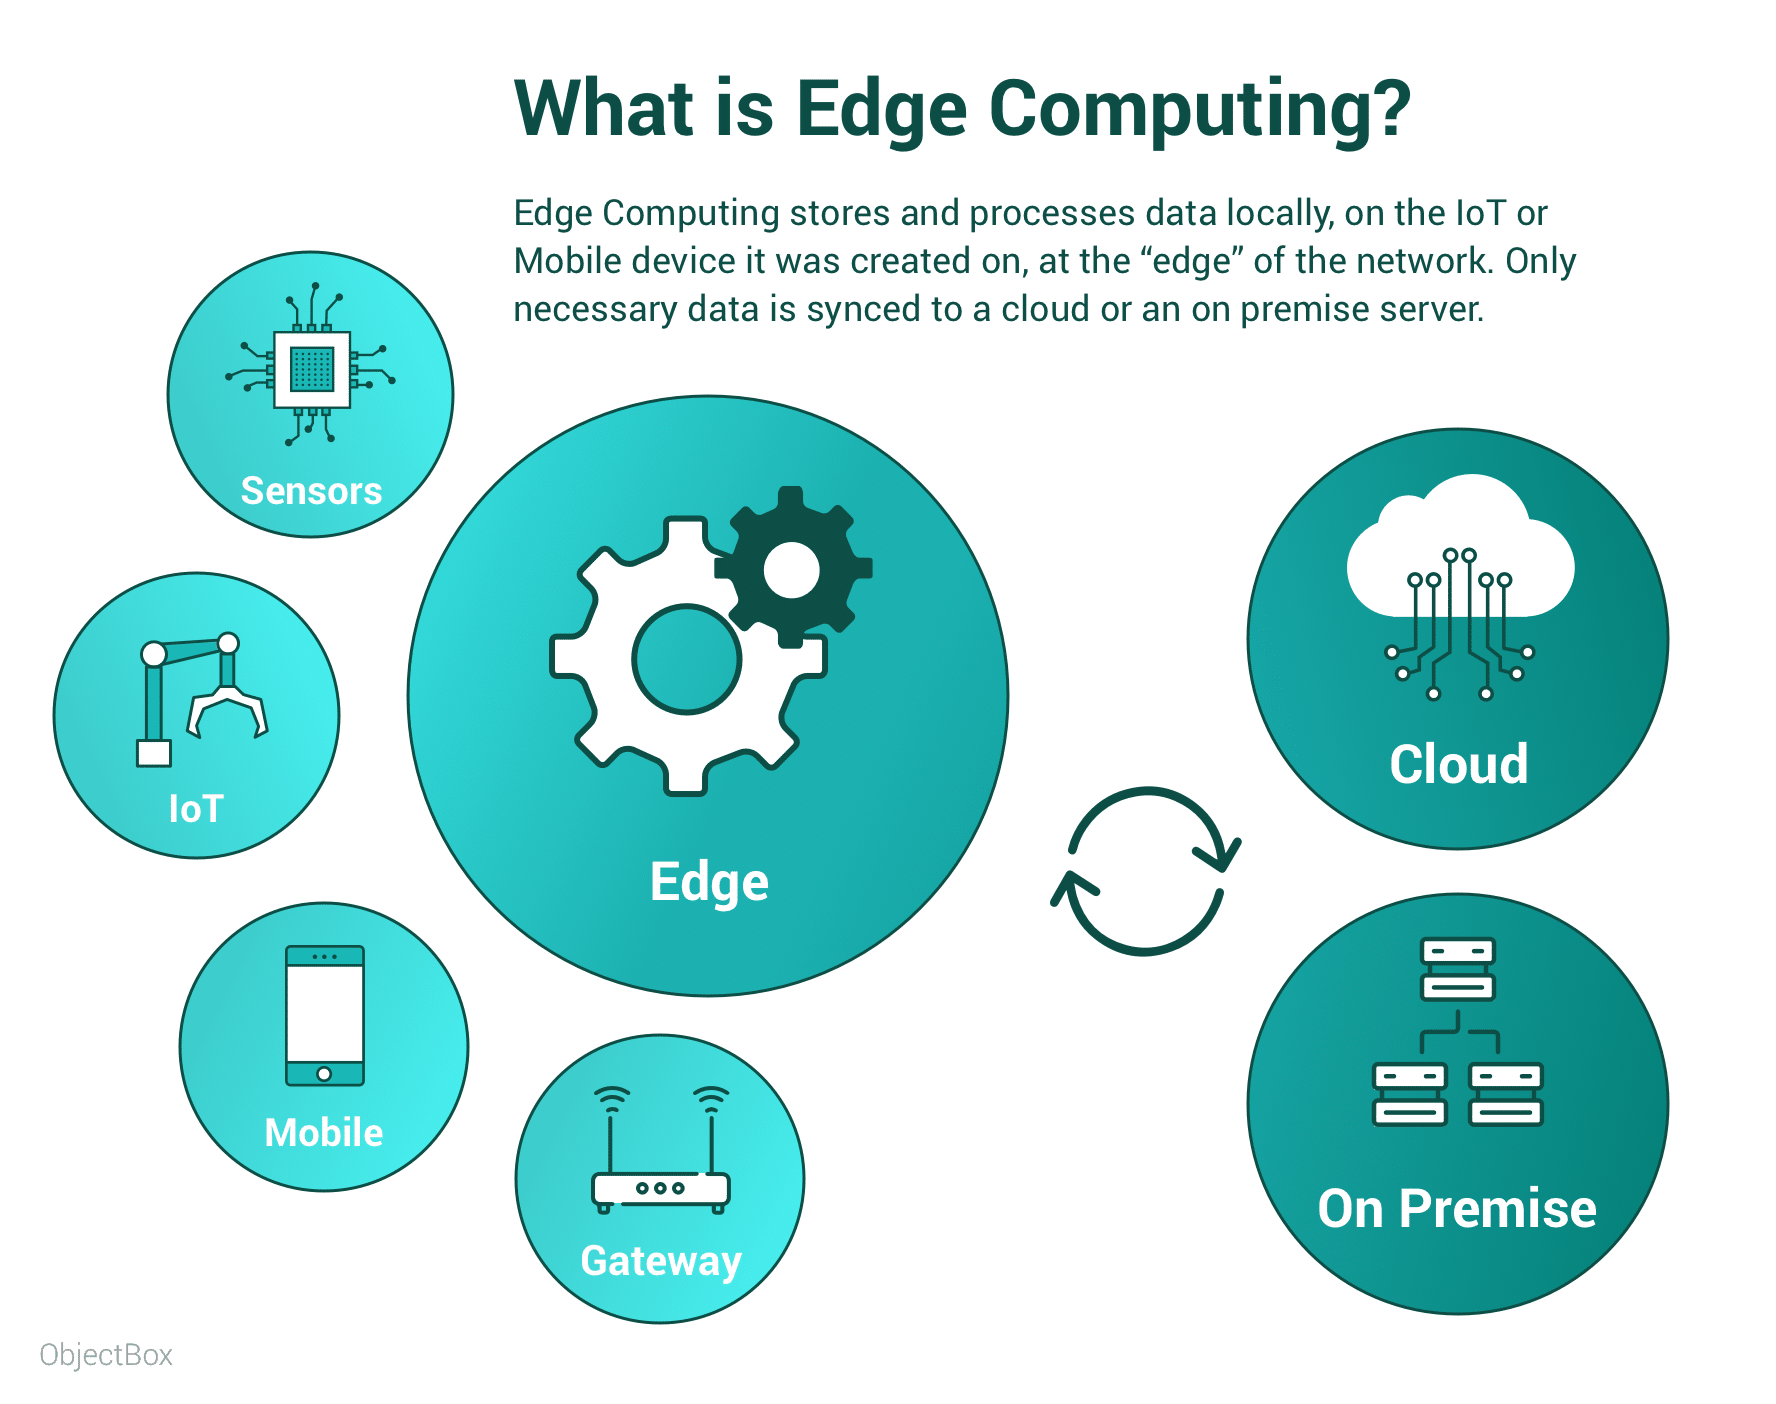
A database that is both embedded in the application and works well in embedded systems is called an Edge database. To clarify, Edge Database is an embedded database optimised for resource-efficiency on restricted decentralised devices (this typically means embedded devices) with limited resources. Mobile databases, for example, are a type of Edge databases that support mobile operating systems, like Android and iOS.
New Edge databases solve the challenge of an insanely growing number of embedded devices. This applies to both in the professional / industrial as well as the consumer world. Edge databases hence create value for decentralised devices and data by making the former more useful.

A database for embedded systems / embedded devices can be simultaneously an embedded database. However, more important is its performance with regards to on-device resource use to serve the restricted devices. A database that is embedded and optimized for restricted devices is called “Edge database”.
Why use an embedded database in an embedded system?
First of all, local data storage enabled by embedded databases is a big advantage for embedded systems. Due to the limited connectivity or realtime requirements that these systems often experience, one often cannot rely on it for retrieving data from the cloud. Instead, a smart solution would be to store data locally on the device and sync it with other parts of the system only when needed.
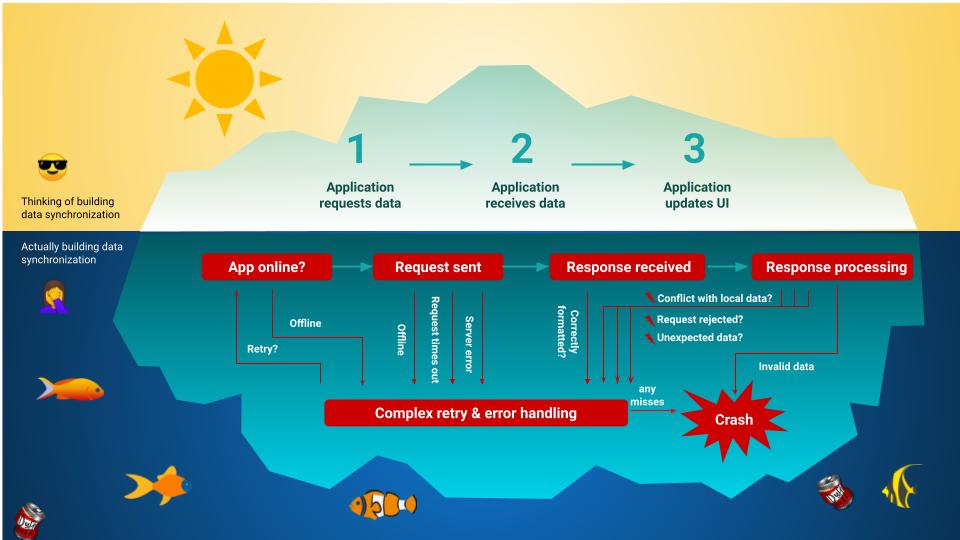
Aside: a word about data sync. Embedded systems often deal with large amounts of data, while also having an unreliable or non-permanent connection. This can be imposed by the limitations of the system or done deliberately to save battery life. Thus, a suitable synchronisation solution should not only sync data every time there is a connection, but also do it efficiently. For example, differential sync works well: by only sending the changes to the server, it will help to avoid unnecessary energy use and also save network costs.
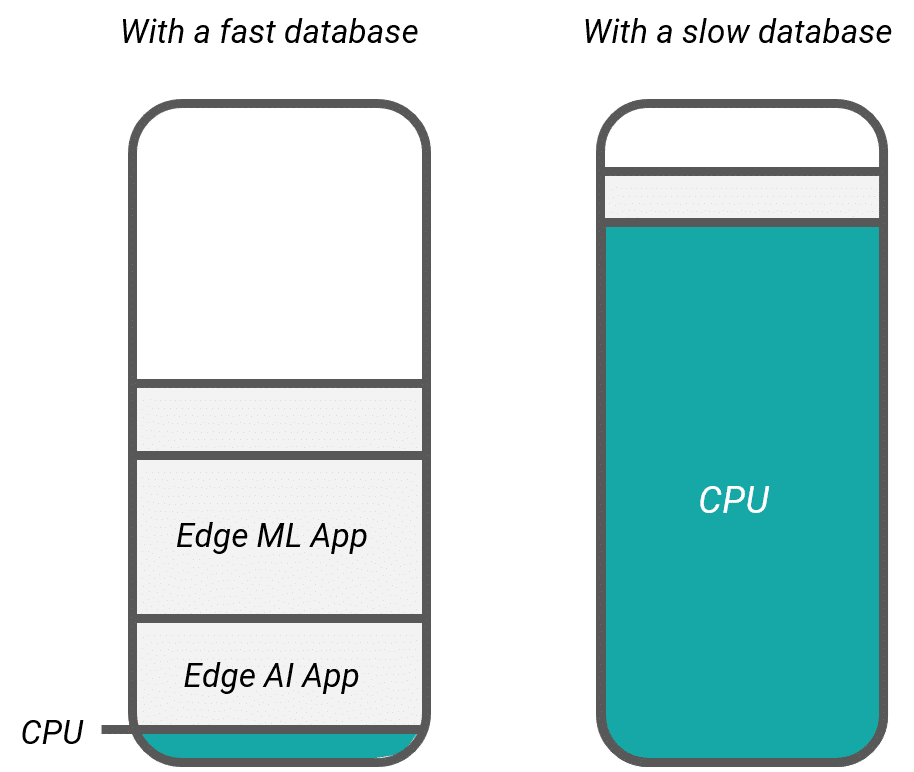
The two most important features of databases in embedded systems are performance and reliability. A database used in embedded systems should perform well on devices with limited CPU and memory. This is why embedded databases might work well in embedded systems – they are largely designed to work in exactly such environments. Some of them are truly tiny, which means they thrive in small applications. While better performance helps to eliminate some of the risks, it does not help with sudden power failures. Therefore, a good data recovery procedure is also important. This is most consisely demonstrated by ACID compliance.
Let’s have a look at the features of embedded databases that make them a great choice for embedded systems.
Advantages of embedded databases
- High performance. Truly embedded databases benefit from simpler architecture, as they do not require a separate server module. While the client/server architecture might benefit from the ability to install the server on a more powerful computer, this also means more risk. Getting rid of the client/server communication level reduces complexity and therefore boosts performance.
- Reliability. Many embedded devices use battery power, so sudden power failures might happen. Therefore, the data management solution should be built to ensure that data is fully recovered in case of a power failure. This is a popular feature of embedded databases that are built with embedded systems in mind.
- Ease of use and low maintenance. Other important benefits of using an embedded database include easy implementation and low maintenance. Designing embedded devices often requires working in tight schedules, so choosing an out-of-the-box data persistence solution is the best choice for many projects. Since embedded databases are embedded directly in the application, they do not need administration and effectively manage themselves.
- Small footprint. Embedded databases do not always have a small footprint, but some of them are smaller than 1 MB, which makes them particularly suitable for mobile and IoT devices with limited memory.
- Scalability. As the number of embedded devices grows every year, so does the data volume. An efficient solution should not only perform well with large sets of data, but also adapt to new device features and easily change to fit the needs of a new device. This is where rigid database schemas come as a disadvantage.
How to choose an embedded database
When choosing an embedded database, look out for such factors as ACID (atomicity, consistency, isolation, durability) compliance, CRUD performance, footprint, and (depending on the device needs) data sync.
SQLite and SQlite alternatives – a detailed look at the market of embedded databases
| Database solution | Primary model | Minimum footprint | Sync | Languages |
| SQLite | relational | <1MB | no | C/C++, Tcl, Python, Java, Go, Matlab, PHP, and more |
| Mongo Realm | object-oriented NoSQL database | 5 MB+ | sync only via Mongo Cloud | Swift, Objective-C, Java, Kotlin, C#, JavaScript |
| Berkeley DB | NoSQL database; key-value store | <2MB | no | C++, C#, Java, Perl, PHP, Python, Ruby, Smalltalk and Tcl |
| LMDB | key-value store | <1MB | no | C++, Java, Python, Lua, Go, Ruby, Objective-C, JavaScript, C#, Perl, PHP, etc |
| RocksDB | key-value store | no | C++, C, Java, Python, NodeJS, Go, PHP, Rust, and others | |
| ObjectBox | object-oriented NoSQL database | <1MB | offline, on-premise and cloud Sync, p2p Sync is planned | Java, Kotlin, C, C++, Swift, Go, Flutter / Dart, Python |
| Couchbase Lite | NoSQL DB; document store | 1-5 MB | sync needs a Couchbase Server | Swift, Objective-C, C#, C, Java, Kotlin, JavaScript |
| UnQLite | NoSQL; document & key-value store | ~1.5 MB | no | C, C++, Python |
| extremeDB | in-memory relational DB, hybrid persistence | <1 MB | no | C, C#, C++, Java, Lua, Python, Rust |
When to use an Embedded Database and how to choose one
Firstly, when choosing a database for an embedded system, one has to consider several factors. The most important ones are performance, reliability, maintenance and footprint. On highly restricted devices, even a small difference in one of those parameters might make an impact. While building your own solution with a particular device in mind would certainly work well, tight schedules and additional effort don’t always justify this decision. This is why we recommend choosing one of the ready-made solutions that were built with the specifics of embedded systems in mind.
Secondly, to avoid unnecessary network and battery use, you might want to choose an embedded database. On top, an efficient differential data sync solution will help reduce overhead and reduce the environmental footprint.
Finally, there are several embedded databases that perform well on embedded devices. Each has its own benefits and drawbacks, so it’s up to you to choose the right one for your use case. That being said, we’d like to point out that ObjectBox outperforms all competitors across each CRUD operation. See it for yourself by checking out our open source performance benchmarks.

